Need picture frames for all those photos you have floating around the house? Here’s how to make your own.
Materials needed:· Eight popsicle sticks · Old or mismatched buttons · Ribbon· Craft glue · Heavy cardboard paper · Small magnet
What to do:
Step One: Start out by making a square using four popsicle sticks.
Step Two: Border the square you just made with another four popsicle sticks.
Step Three: Now you should have a square that is two sticks deep on each side.
Step Four: Glue the sticks together, and let the glue dry.
Step Five: Cut out a square of cardboard, slightly smaller than the square of popsicle sticks.
Step Six: Put a few drops of glue on three sides of the cardboard square. The side that you don’t glue will be at the top of the frame.
Step Seven: Line up the cardboard (glue-side down) with the back of the sticks, and press together.
Step Eight: Glue the small magnet to the middle of the cardboard. This will be the back of the frame.
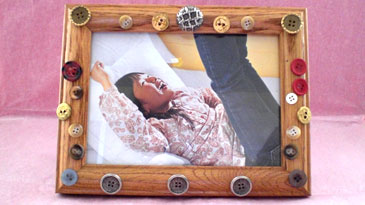
Step Nine: When the glue is dry, you can decorate the frame by gluing on the ribbon and buttons.
Step Ten: After it dries, your frame is ready for a picture! Slide a picture in the slot at the top of the frame, then hang it on your refrigerator or give it to a friend.
title: “Button Picture Frame” ShowToc: true date: “2023-01-07” author: “Matthew Sallee”
NewspaperGlue GunButtonsPicture frameFamily photo